

Transfer From Wordpress.com To Wordpress.org
WordPress.com is a good option if you're just getting started.
However, pretty soon, you'll realize that you can't exactly customize your site completely, especially if you're on the free plan.
WordPress.org, on the other hand, comes with much more customization options. The reason behind this is quite simple: WordPress.org is an open-source platform meaning that with the proper coding know-how, you can easily develop any type of website you want.
On top of that, there are a lot more themes and plugins available for WordPress.org and those themes usually involved more design and styling options which make it easy to customize your site the way you want.
Since WordPress.org is an open-source platform, you are free to modify the underlying code that makes WordPress to suit your site's needs. You are also free to use whichever hosting company you want and use another hosting service whenever you want.
Starting the Migration (.COM > .ORG)
Now that we've covered why you should migrate from WordPress.com, let's go over the things you'll need before you migrate your site.
1. Have a Domain Name Ready
If you've been using the free plan on WordPress.com, chances are you will need a domain name for your site. If you don't have a domain name, you'll be unable to migrate it properly.
If you don't have a domain name yet, use these steps to register a domain name or browse these domain registrars.
2. Get a Web Hosting Account
There is no shortage of WordPress hosting companies online. The cheaper ones cost around $2/mo, but be ready to:
- Always check third-party reviews to make sure customers are satisfied with the service
- Remember that cheaper doesn't always mean better. If you choose a cheap hosting plan, you run the risk of your site loading slowly or being exposed to various security risks. It's a good idea to pay more for your hosting account and make sure your hosting company offers basic security measures
- Check customer support by initiating a chat or contacting them through email. Be sure that the company you've chosen respond in a timely fashion as the last thing you want is long waiting times when you need support urgently
3. Install WordPress via Web Hosting
Lastly, you'll also need a fresh installation of WordPress.org. Once you've purchased your hosting account, your hosting provider will send you the login details for your account area.
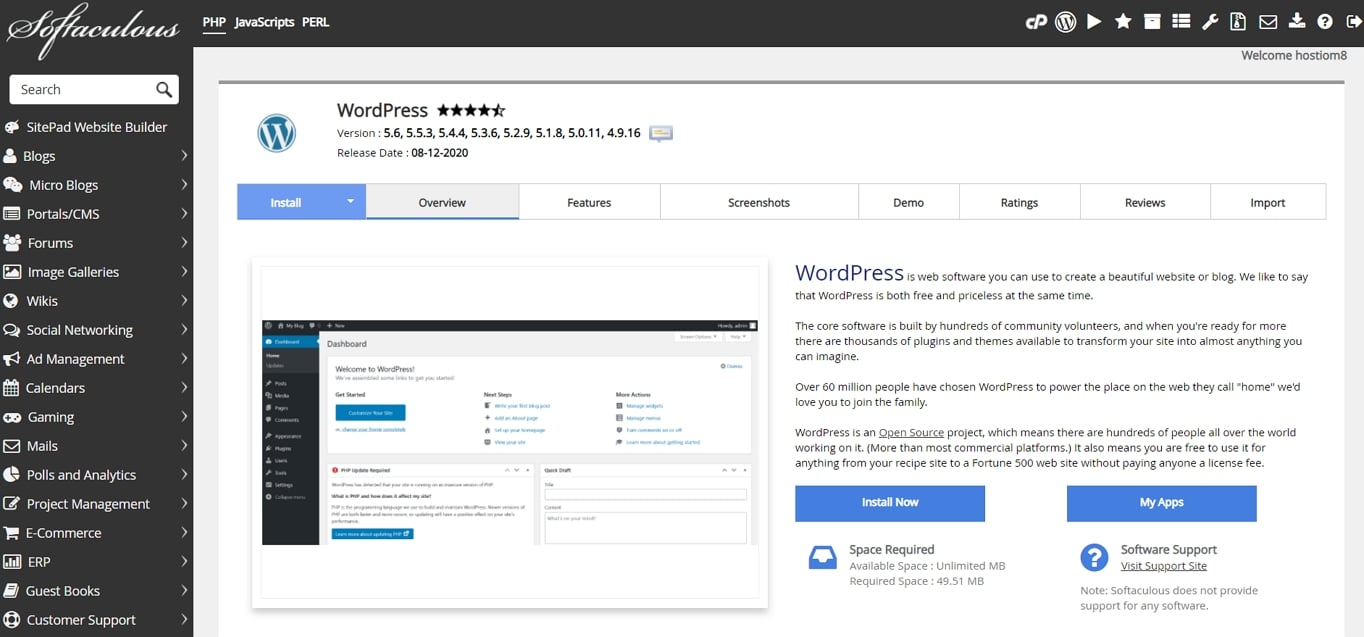
Using the name and password they have provided you with, you can log in and look for the WordPress icon. From there, you can initiate the installation process and follow the prompts to install WordPress. This will include setting up your site title and creating a username and password for your WordPress dashboard.
When you have entered that information, WordPress will complete the installation process at which point you can move on to the migration process.
4. Export Your Content From Your WordPress.com Site
First things first, you will need to export your content from your old WordPress.com site. Start by logging in to WordPress.com and then go to My Site tab and click on WP Admin.
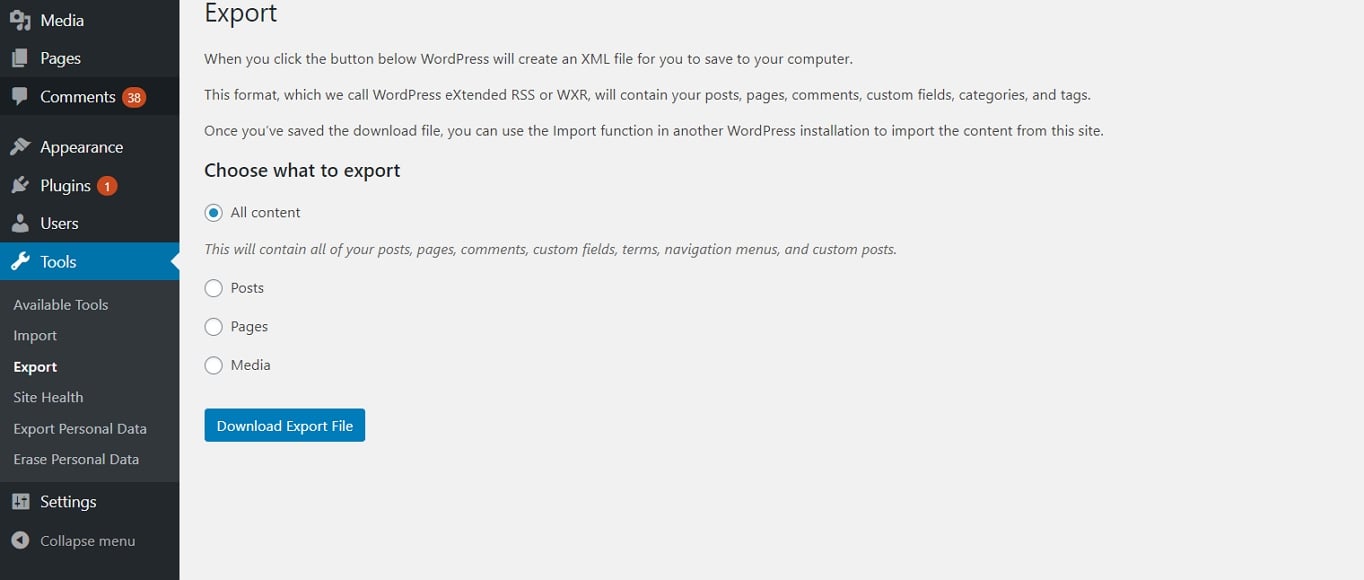
Once you're inside your dashboard, navigate to Tools > Export. As you can see from the screenshot, you can choose between two options: Guided Transfer which will set you back $129 or the free Export option. Choose the Export option by clicking the Start button.

On the next page, make sure that All content is selected and then press the Download export file. This will make sure that all your posts, comments, categories, and media are exported in the final XML file.
It's worth mentioning that if you've had your WordPress.com site for several years, your final XML file might be bigger than 32MBs. If that's the case, you will run into issues trying to import it into your new WordPress.org website. You will need to install the WXR file splitter to split your XML file into several smaller files. Alternatively, you can contact your hosting company and ask them if they can temporarily increase your upload limit.
5. Install WordPress Importer Plugin On Your WordPress.org Site
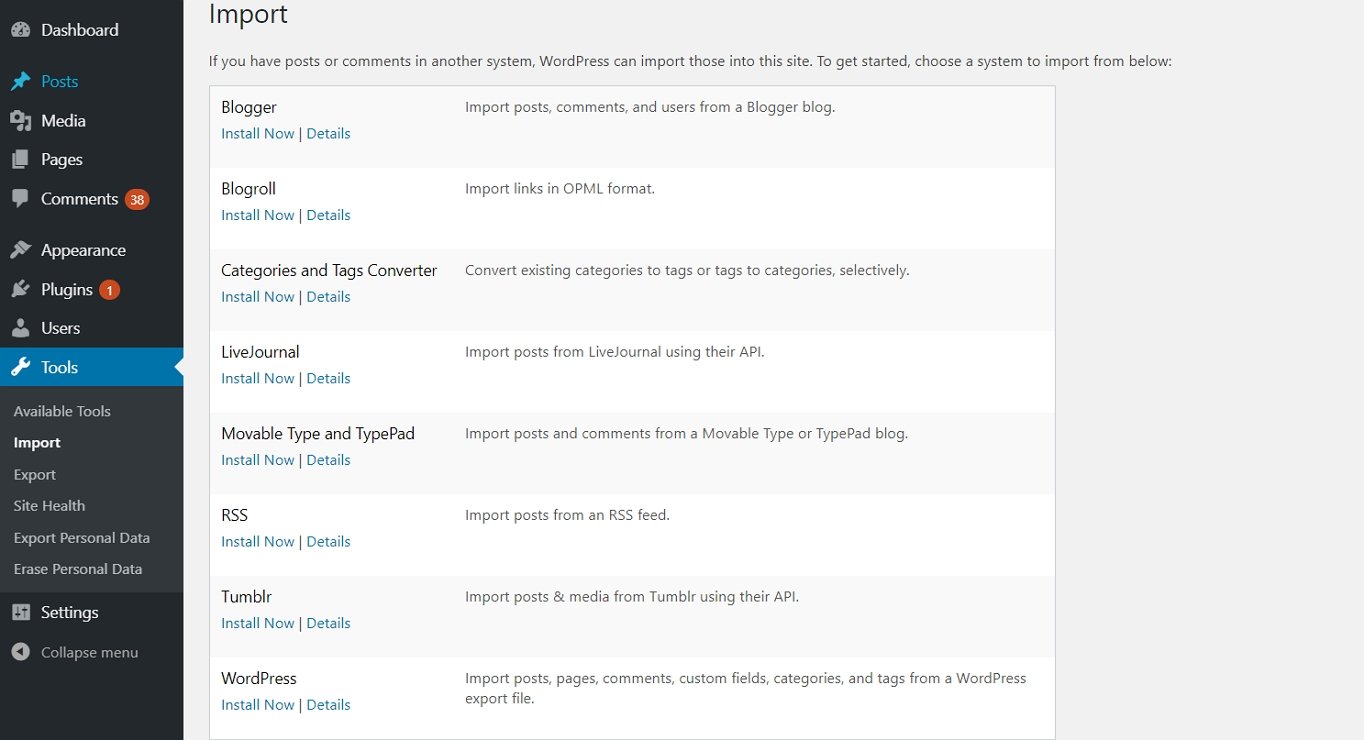
The next step is to install the WordPress Importer plugin on your WordPress.org site. Make sure you're logged into your WordPress.org dashboard and navigate to Tools > Import.
Select the last option, WordPress, and then click the Install link. The plugin will install and you can then proceed with the next step.
6. Import Your Content
You've exported the content from your old site, and you've prepared your new self-hosted WordPress.org website. Now's the time to import your content.
Start by clicking on the Run Importer link. Click the Choose your XML file and navigate to it on your computer. Then, press the blue button that says Upload file and import.
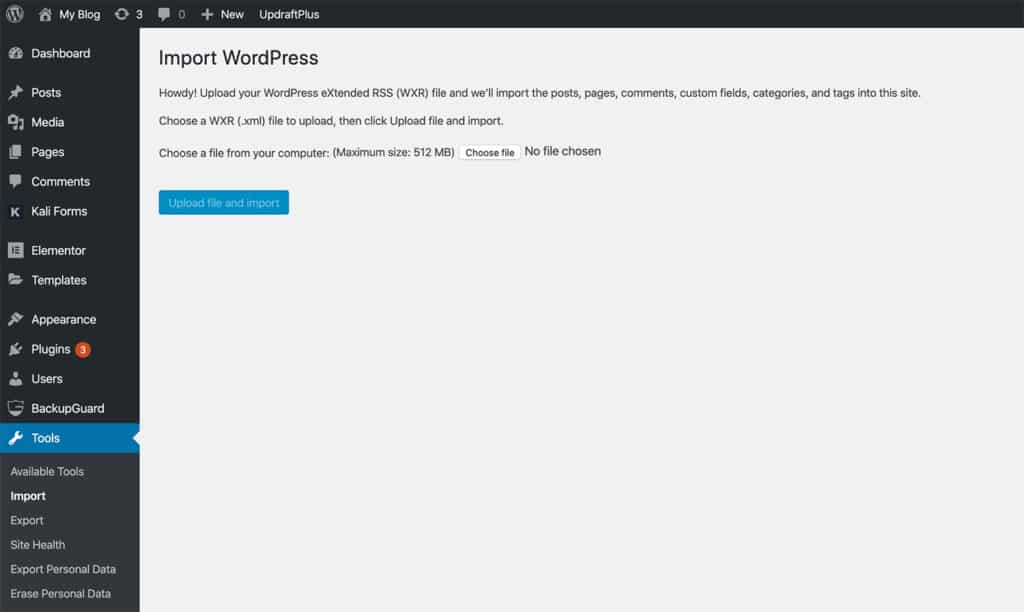
On the next page, you will be asked if you want to assign imported posts to the existing user or if you want to create a new user. If your blog had multiple authors, you will need to do this for each and every author. The only thing that should affect your choice is if you want to keep the same brand and username as you've had on WordPress.com or if you're going for a complete rebrand.
Once you've made your decision, make sure that the box next to the line that reads Download and import file attachments is checked. This will ensure that your images from the old site are transferred over. Then, press the Submit button and wait for the import process to finish.
Once it's done, you'll see a notification in your dashboard area which means it's time for the next step in the migration process.
7. Check Your Content and Images
Now that you've imported the content from your WordPress.com site, it's time to check and make sure everything transferred over smoothly. In some cases, especially if your old site had a lot of images, you'll find that not all of the images were imported.
However, you can use a plugin like Auto Upload Images. This plugin will scan your posts for external image links and then it will do three things:
- Automatically upload and import external images to the WordPress upload directory
- Add images to the media library
- Replace new image URLs with old URLs
All you have to do is install and activate the plugin and configure the settings to your liking, although the default settings should be fine as is.
8. Redirect Your WordPress.com Site to Your New WordPress.org Site
The last step in the migration process is to redirect your WordPress.com site to your new WordPress.org site. The main reason for doing this is that you run the risk of losing your search engine rankings if you simply move your site over to a new domain.
Secondly, you also run the risk of losing your visitors if you simply move your site without notifying them of the change.
Unfortunately, this part of the process will require an additional fee since WordPress.com doesn't allow you to modify the core files of your site. Thankfully, the fee is not exorbitant and will cost you $13/year. Here's what you need to do.
Go back to your old WordPress.com website and navigate to My Site tab. Once there, click on Settings. Find the Site Address field and then click the redirect link under the URL field.
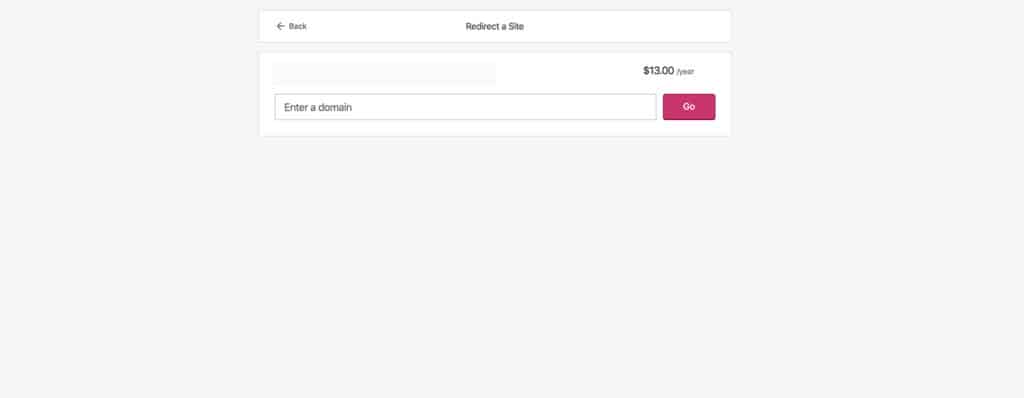
On the next page, enter your new domain name and then press the Go button. You will be able to submit payment on the next page and you're done.
Your old WordPress.com website will now redirect to your new WordPress.org site with a 301 permanent redirect. It's a good idea to maintain the redirect for at least a year if not two to ensure everyone has your new domain name memorized or bookmarked.
Alternatively, if you don't want to pay for the redirect, consider emailing your subscribers and notifying them about your new site while setting your old WordPress.com site to Private. You can do this by going to My Site > WP Admin. Once you're in the dashboard, go to Settings > Reading and check the box that says I would like my site to be private, visible only to myself and users I choose.
You can also update your social media profiles to include a link to your new page so your followers can easily access your new site.
All that's left to say now is congratulations! If you've followed all the steps in this tutorial, your website should now be live on WordPress.org.
Final Thoughts
Migrating your site from WordPress.com does take a little work but the benefits include more customization options for your site as well as complete ownership of your site and content.
When you take that into consideration, it's well worth spending an afternoon migrating your site so take the plunge and migrate your WordPress.com site to WordPress.org.
If you unsure about migration, take a look at this comparison – WordPress.com vs WordPress.org (8 Differences).
Transfer From Wordpress.com To Wordpress.org
Source: https://websitesetup.org/wordpress-com-to-wordpress-org-migration/
Posted by: blanfordhendis.blogspot.com
0 Response to "Transfer From Wordpress.com To Wordpress.org"
Post a Comment